Photogammetry

For a side project, I 3D scanned taxidermied animals supplied by the Bell Museum of natural history. Like with library books, students can check out animals for educational purposes. In this case, I borrowed a kestrel and the skull from a red fox.
By chance, my photographer friend wanted to do some 3D scans. This project was spontaneous as opposed to planned. The capturing of photographs iteself took a few hours, while the stitching of the 3D models was left to run overnight.
Technical
Much like a photo shoot, we set up lights and a contrasting background to get as much detail as possible out of the photographs. To keep track of model rotation, we did a quick platform on our laser cutter. We took 95 photos for the kestrel, and 105 photos for the red fox skull.
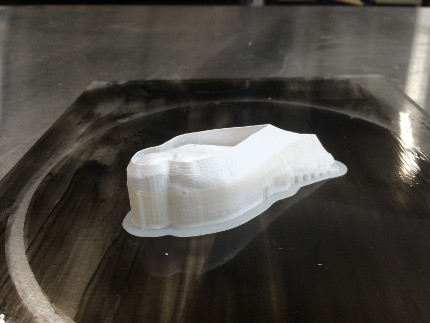
3D print test, ready for removal.
The shop I was working at had a MakerGear M2, which I used to run a test print. These are the specs:
- Material: white ABS for model, HIPS for support.
- Settings: 12% infill, 5 outer shells, 0.2mm resolution.
- Post Processing: Acetone vapor bath for 10 minutes.
To do the vapor bath, we lined the lip of a painter’s bucket with rags soaked in acetone, letting the rags hang about halfway down.
Result
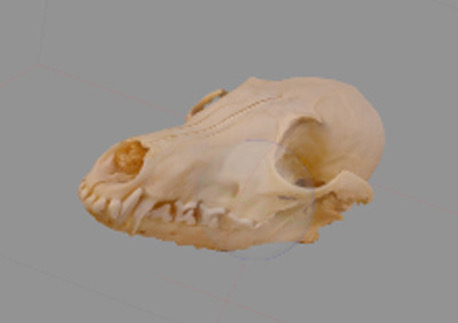
The red fox skull after point cloud processing.
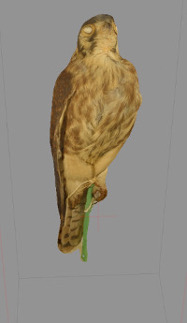
The kestrel after point cloud processing.
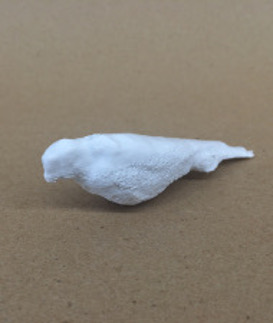
The kestrel test print.
Review
What went well:
- The files were incredibly detailed.
- The color and texture were fairly accurate. The kestrel’s feathers are almost discernible.
Not so hot:
- For the 3D print, I shrunk the kestrel model too small, which meant that the vapor bath didn’t work as well.